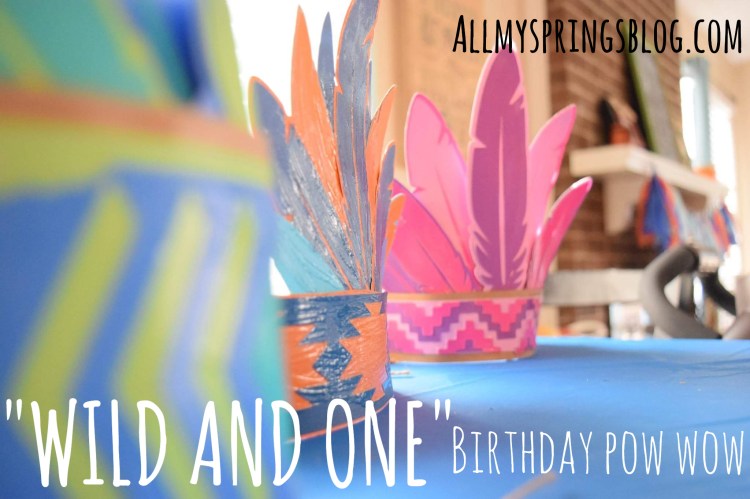
It’s been a while since I’ve done a DIY post, so I thought I’d share my most recent project with you — B’s birthday party! After much Pinterest-ing (that’s a word, right? It is now…), I decided on a “Wild and One” theme for our little brave. I saw lots of examples online of some pretty elaborate decor, and all I could think was — How in the world are these people able to afford such elaborate parties?? I mean, some looked nicer than my own wedding, for pete’s sake.
Anyway, I wanted the party to be fun and cute and color-coordinated but to also, you know, be able to make our house payment this month. So I took it upon myself to achieve said cute party for as little cost as possible.
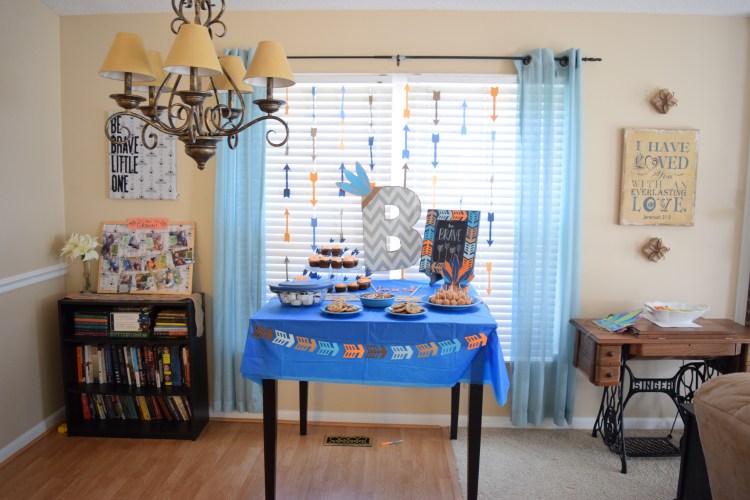
Check out some of the decor below!
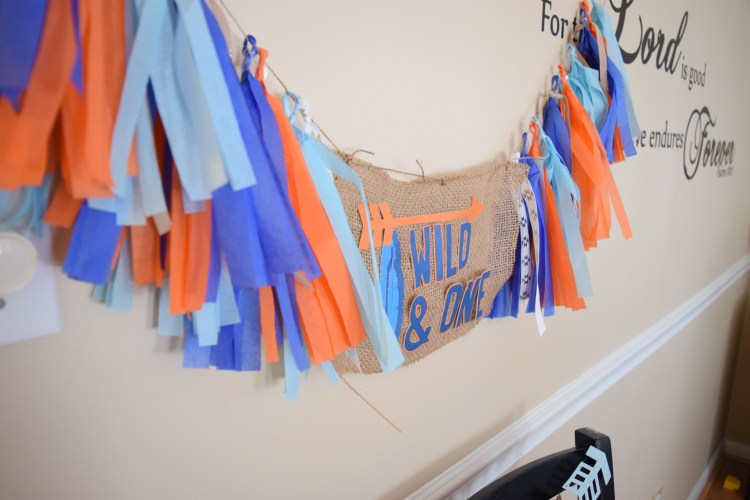
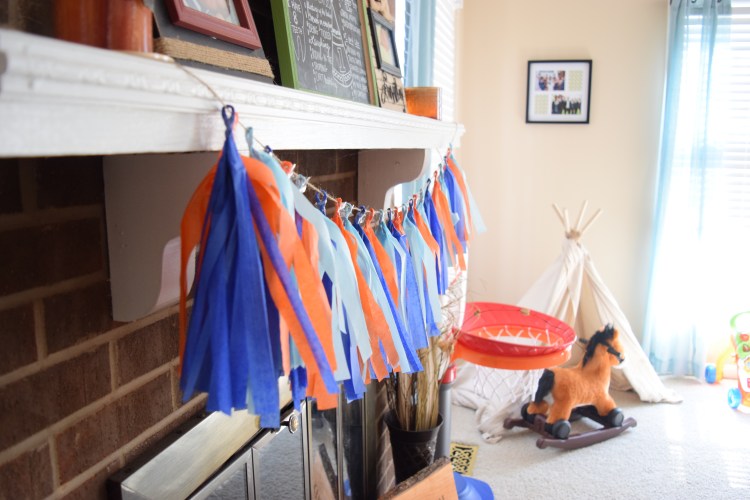
Tissue paper garlands: This was my first attempt with these tassel garlands, and I love them! You can make four separate tassels with just ONE sheet of tissue paper. For all you math lovers out there, that’s about 32 tassels for just a $1 pack of tissue paper from the Dollar Store – *GASP* — I mean seriously, you can’t beat that with a stick. (There are only about 45,387 tutorials online for how to make these tassels, so I won’t bother doing that here. Just check out Pinterest or Google if you’re wanting to give them a try.)
The burlap and twine were items I just had lying around, so no cost there!

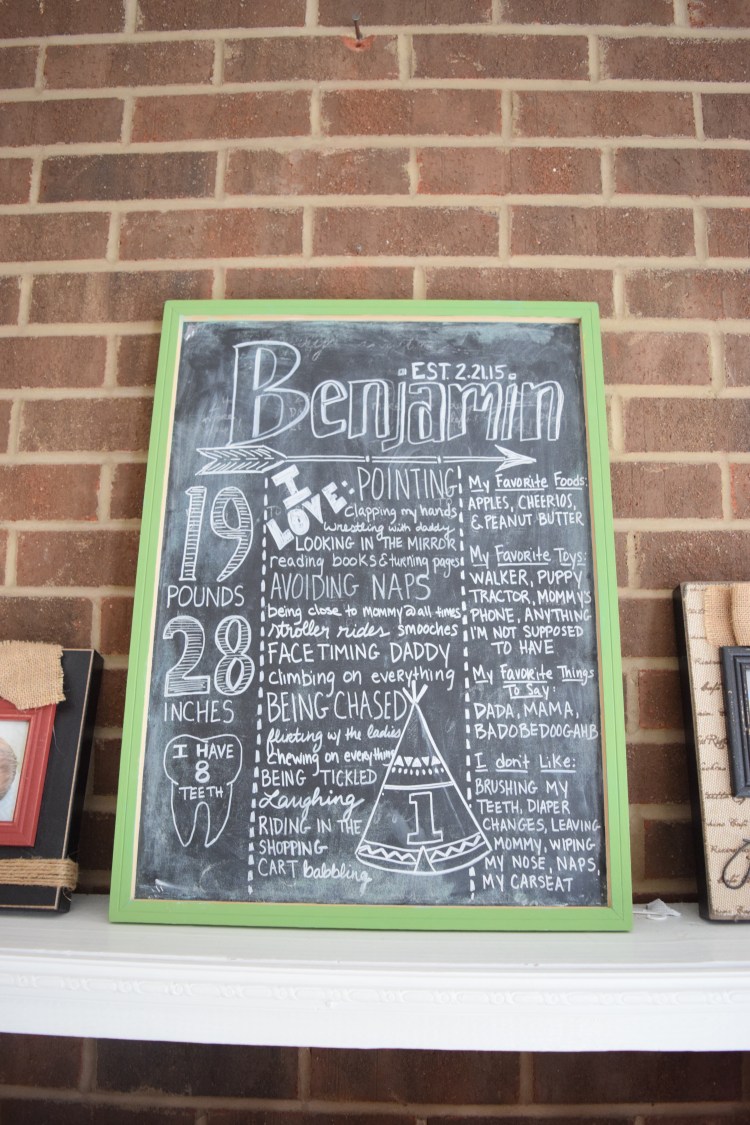
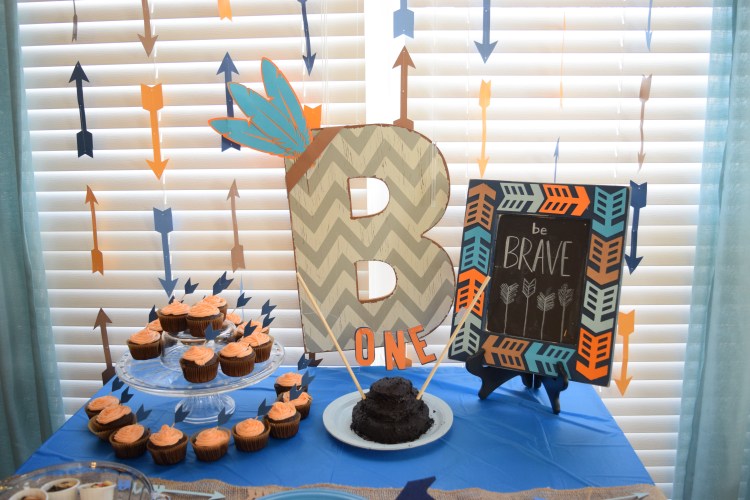
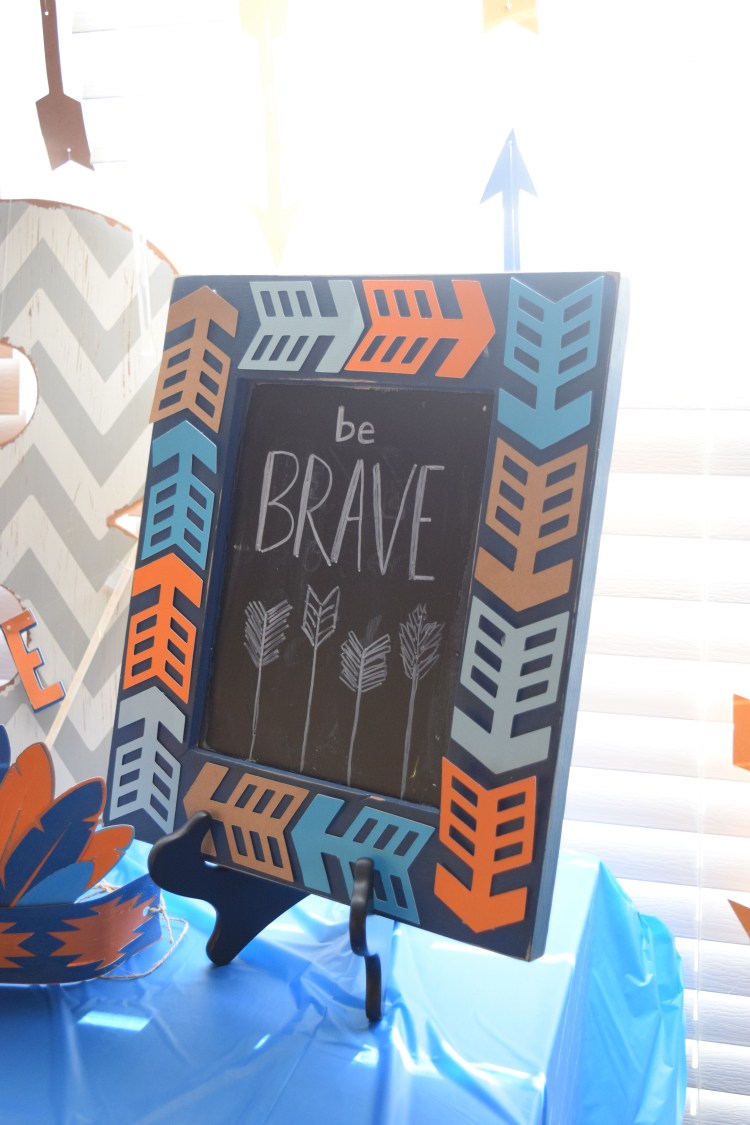
Chalkboard Sign: I saw these first birthday chalkboard signs all over the internet, but I hate buying things that I can do myself — especially when I already had a chalkboard and markers. Cost: $0.00.
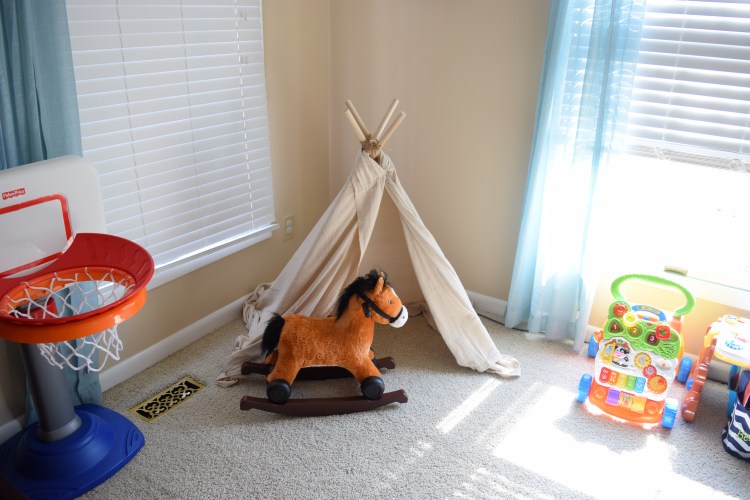
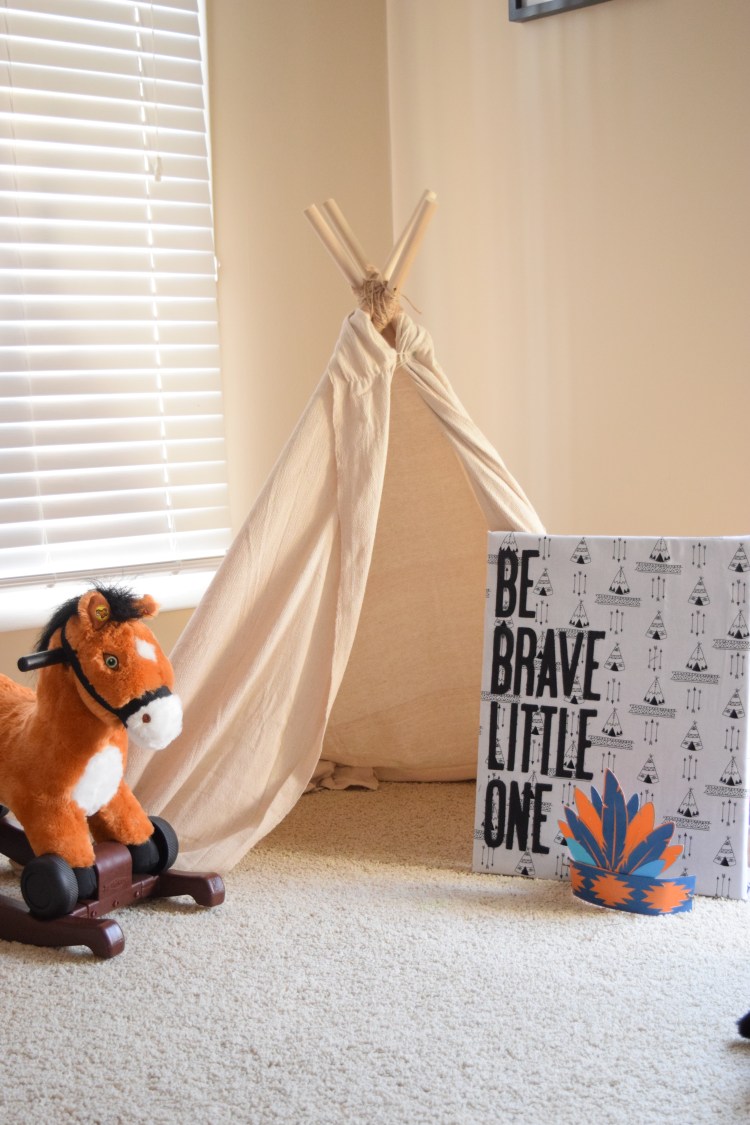
Teepee: When I originally decided on the Pow Wow theme, I definitely wanted a teepee — but holy cow they were all so expensive! No way was I going to drop $100. So Matt and I made a trip to Lowe’s and just made our own! We used dowel rods, sisal rope, a drop cloth, and some screws. My original plan was to paint some fun geometric shapes and lines, but I just ran out of time/stopped caring :).
It turned out really cute though! We used it as the “gift teepee” for the party, which made for cute pictures. It’s a nice toy to have otherwise. B likes to sit in it now, but I’m sure will enjoy it much more as he grows. This was the most expensive thing we did — about $30 (the dowel rods were the most expensive). But we figured it was a gift that would last several years, so we splurged. It also stores easily by simply folding up. You could always buy longer rods for a taller teepee (we just didn’t because the price would have doubled!)
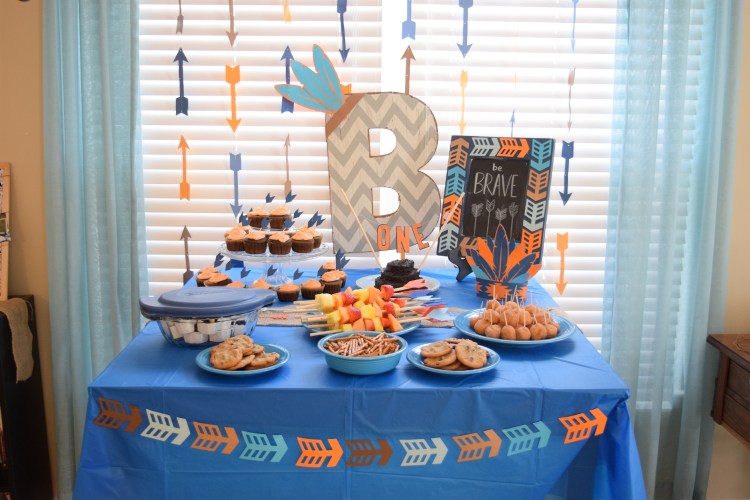
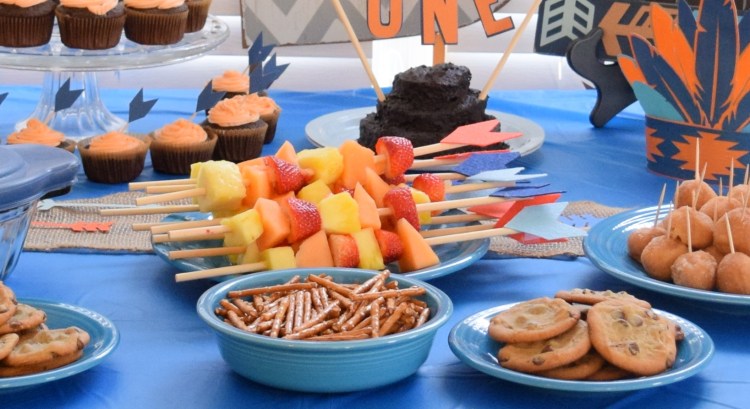
Main Spread: None of the decor for the table spread cost me anything (unless you want to count the cardstock which I did buy, but with a Hobby Lobby gift card so…no cost to me, muahaha). I used my Cricut for all the images (arrows, feathers, etc.) and fishing line to hang them. I already had the big “B” and the chalkboard frame as part of B’s room decor, so I just slapped some arrows and feathers on them to tie in the theme. I loved how it all came together!
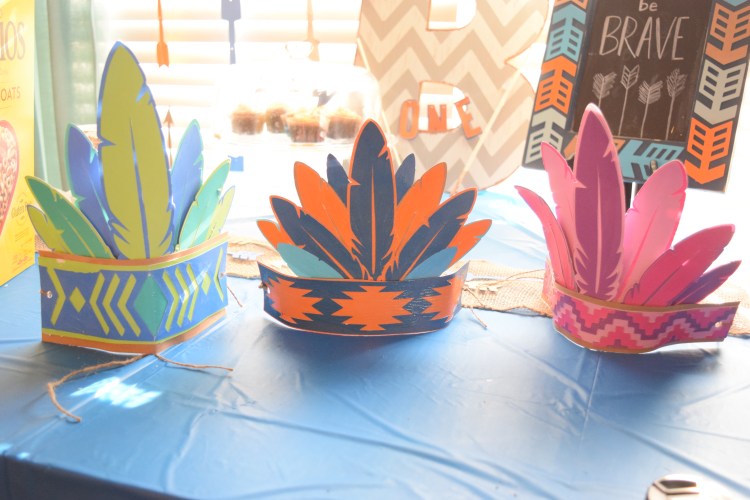
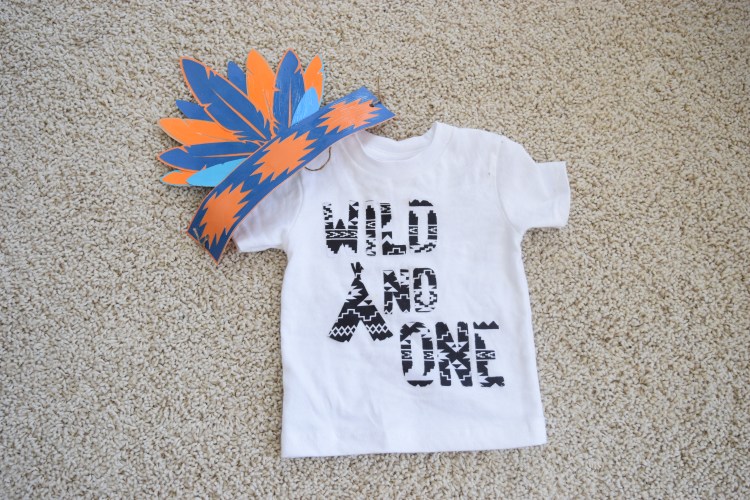
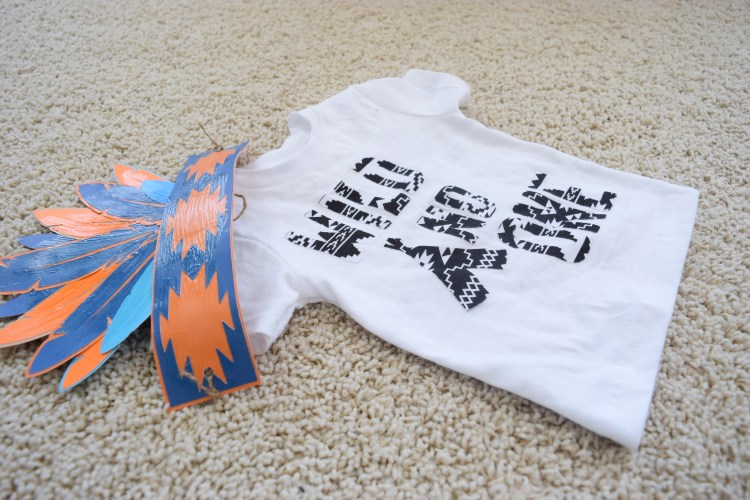
Feather Headdresses: I had so much fun making these for B, Matt and myself! I used a gift card in order to purchase the Southwest Cricut cartridge so that I had access to the feathers and cool designs for the headbands. I just picked three colors of card stock to use interchangeably for layers. I used Mod Podge to glue them together on the front side and make them a bit more durable. On the back I used duct tape to just reinforce the feathers. I punched holes in the ends of the bands and used twine to tie the hats on. B ended up not being too thrilled with wearing his, but we managed to get a couple pictures before he ripped it off.
I also made some smaller versions of these headdresses for all the tribe members who came to celebrate — it’s always more fun to try and get everyone involved and in the party spirit!

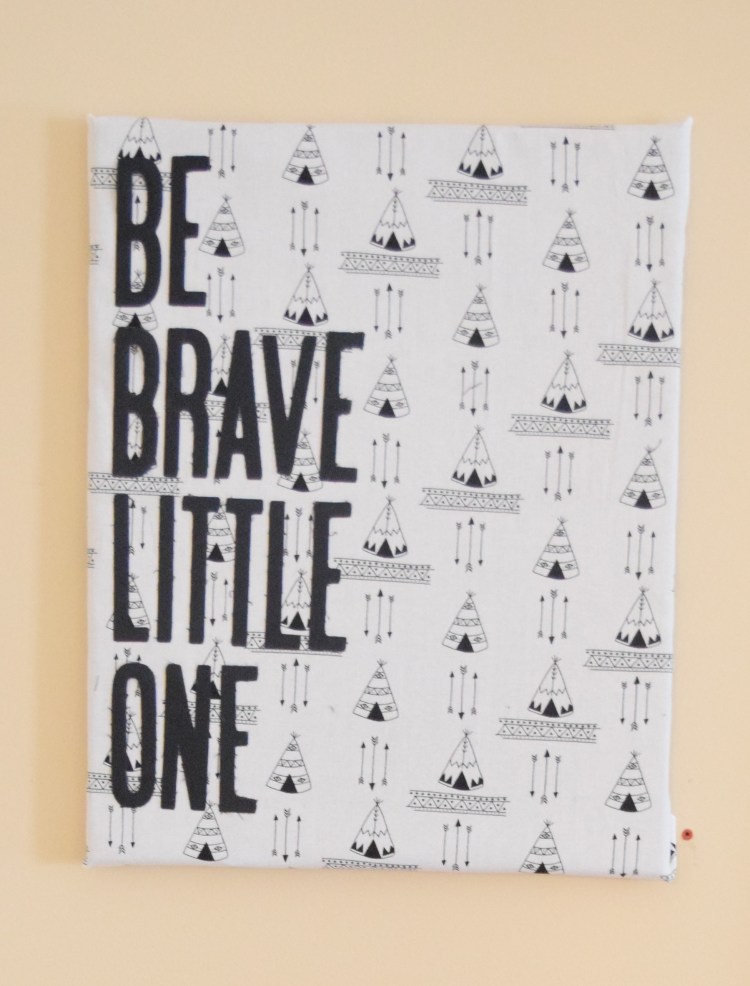
“Be Brave” canvas: I had an old canvas I had painted a few years back that I really didn’t like anymore, so I covered it with this cute fabric (another gift card purchase, muahaha) and used my Cricut to cut these letters from some black fabric and then ironed them onto the canvas. I thought it turned out super cute — and now I have new wall art for B’s room.
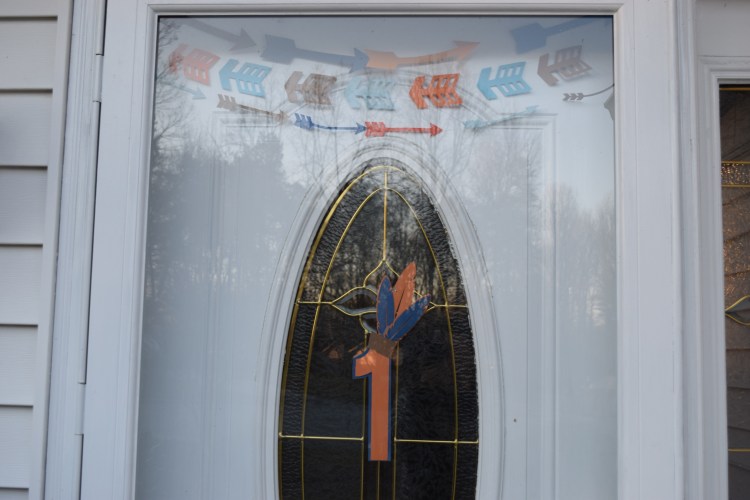
The Front Door: I kept it very simple and used my Cricut for all the images. The garlands I hung with fishing line — easy and free!
The Little Brave’s Attire: I found a ton of cute Pow Wow outfits online, but sheesh, they were crazy expensive, and who has extra money for that? Not us. Besides, it’s hard for me to justify spending a lot of money on an outfit that B will outgrow in no time at all. So anyway, I utilized my Hobby Lobby gift cards and bought a white t-shirt (I think with the 40% off coupon it was around $3) and some cool aztec-y fabric. Using my handy dandy Cricut and some Heat N’ Bond iron-on adhesive paper (I got a big roll for around $7 at Walmart), I was able to make this cute shirt.
I thought about trying to sew some cute pants with arrows or teepees on them. That thought lasted about 3 seconds. Then reality set in and we just went with jeans. I’m pretty sure by the end of the day B ended up in only a diaper anyway.
Well, that’s about it! It’s amazing what you can accomplish with some card stock, Mod Podge, and the will to endure. All the prep work took some time, but honestly, I enjoy this kind of thing so much that it didn’t really seem like work at all. It’s fun to view a tight budget as a challenge rather than a barrier and then to see where creativity can get you.
Here’s to celebrating each and every milestone of life — one fun and affordable Pow Wow at a time!

Hi I love your sons birthday and I was planing on something similar for my daughter who is turning one. I been looking for some cartridges hat can help me . Did you just use the southwest cartridge to do all the decor ? Like the arrows and feathers and stuff like that ? I would really appreciated if I can get your help. Thank you !
Hi Maria! Yes, I used the southwest cartridge for all the decor, including all the lettering I cut out. I believe I got the cartridge on Amazon and it was a little cheaper than what they were selling it for in stores (like at a Hobby Lobby or Michael’s). It was perfect for what I needed and there were probably at least 50 other related images I never even used. Hope that helps and that you have fun party planning!