 I recently learned how to distress items using only Vaseline and NO sanding or scraping. I’ve always hated sanding so when I found this idea, it seemed too good to be true — but after giving it a try, I was hooked! I really loved the finished product on my first project (see below — I found these two tables on the side of the road!) and so of course immediately started running around my house looking for more things I could distress.

I ended up finding two drawers from a set of bedside tables Matt and I had found in yard sales when we first got married. We paid next to nothing for them and had fun painting them. We ended up tossing the tables last year but kept the drawers in case we could use them for another purpose someday.
Well that “someday” finally arrived!
I browsed Pinterest and saw some cute ideas for making drawers into decorative shelves. So I set to work!
Here are the supplies I used:
- Two old drawers
- Black and white spray paint (I bought two cans of Rust-Oleum paint for $3.86 each, but ended up only using one since I already had some black paint on-hand)
- Four picture hanging brackets
- Vaseline
- Old rag
- 2 Pieces of scrapbook paper (2 for $1 at Hobby Lobby)
- Mod Podge
- Polycrylic protective finish (it’s about $17 at Wal-Mart but lasts for several projects)
I ended up having a lot of items around the house already, so in total I only spent about $9 on this project — less actually when you consider I didn’t use one whole can of the spray paint.
 These are the drawers I started with. I started by cleaning and wiping them down. Then covered them with a coat of black spray paint.
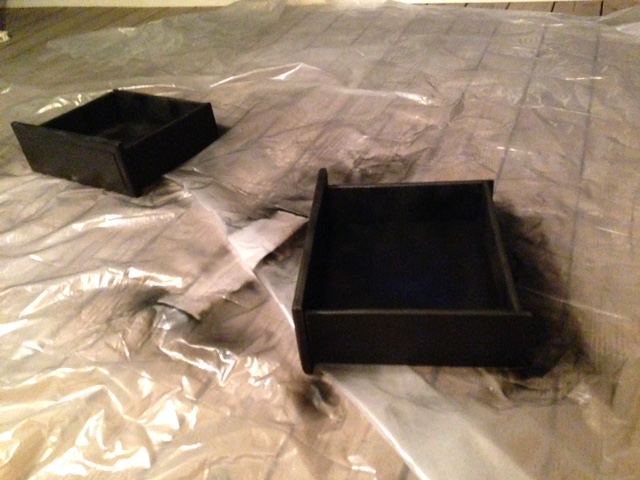
This was the color that I wanted to show through once I distressed the drawers. Once this coat dried, I dipped a paint brush into the Vaseline and brushed it onto the edges and ridges that I wanted to appear distressed. Once the Vaseline was on, I sprayed the next coat white:

The Vaseline keeps the distressed spots from being painted white, so now the only thing left after the paint dried was to simply wipe off the Vaseline with an old rag.

Here is the finished distressed look:
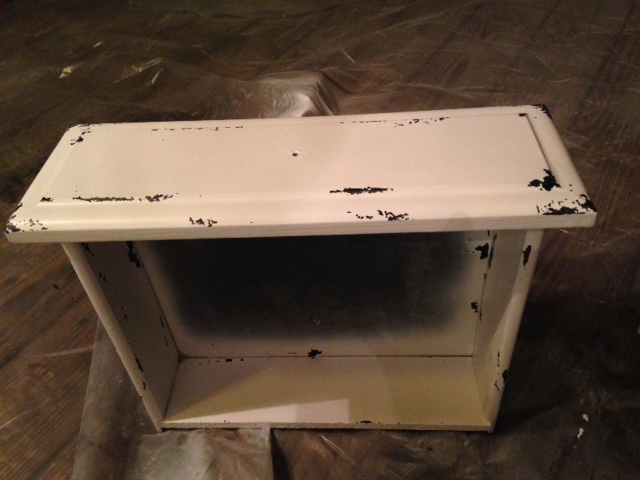
I then brushed on one coat of polycrylic finish to add a layer of protection. The instructions for the finish advised three coats, but since these shelves won’t be handled much at all, I just stuck with one coat.
Next, I picked up a few pieces of scrapbook paper in a print that I thought would go well with the distressed look. I used Mod Podge in order to attach the paper to the bottom of the drawers.

After adding the paper, I screwed the drawer handles back on. They started out as a bronze color, so I just spray painted them black.

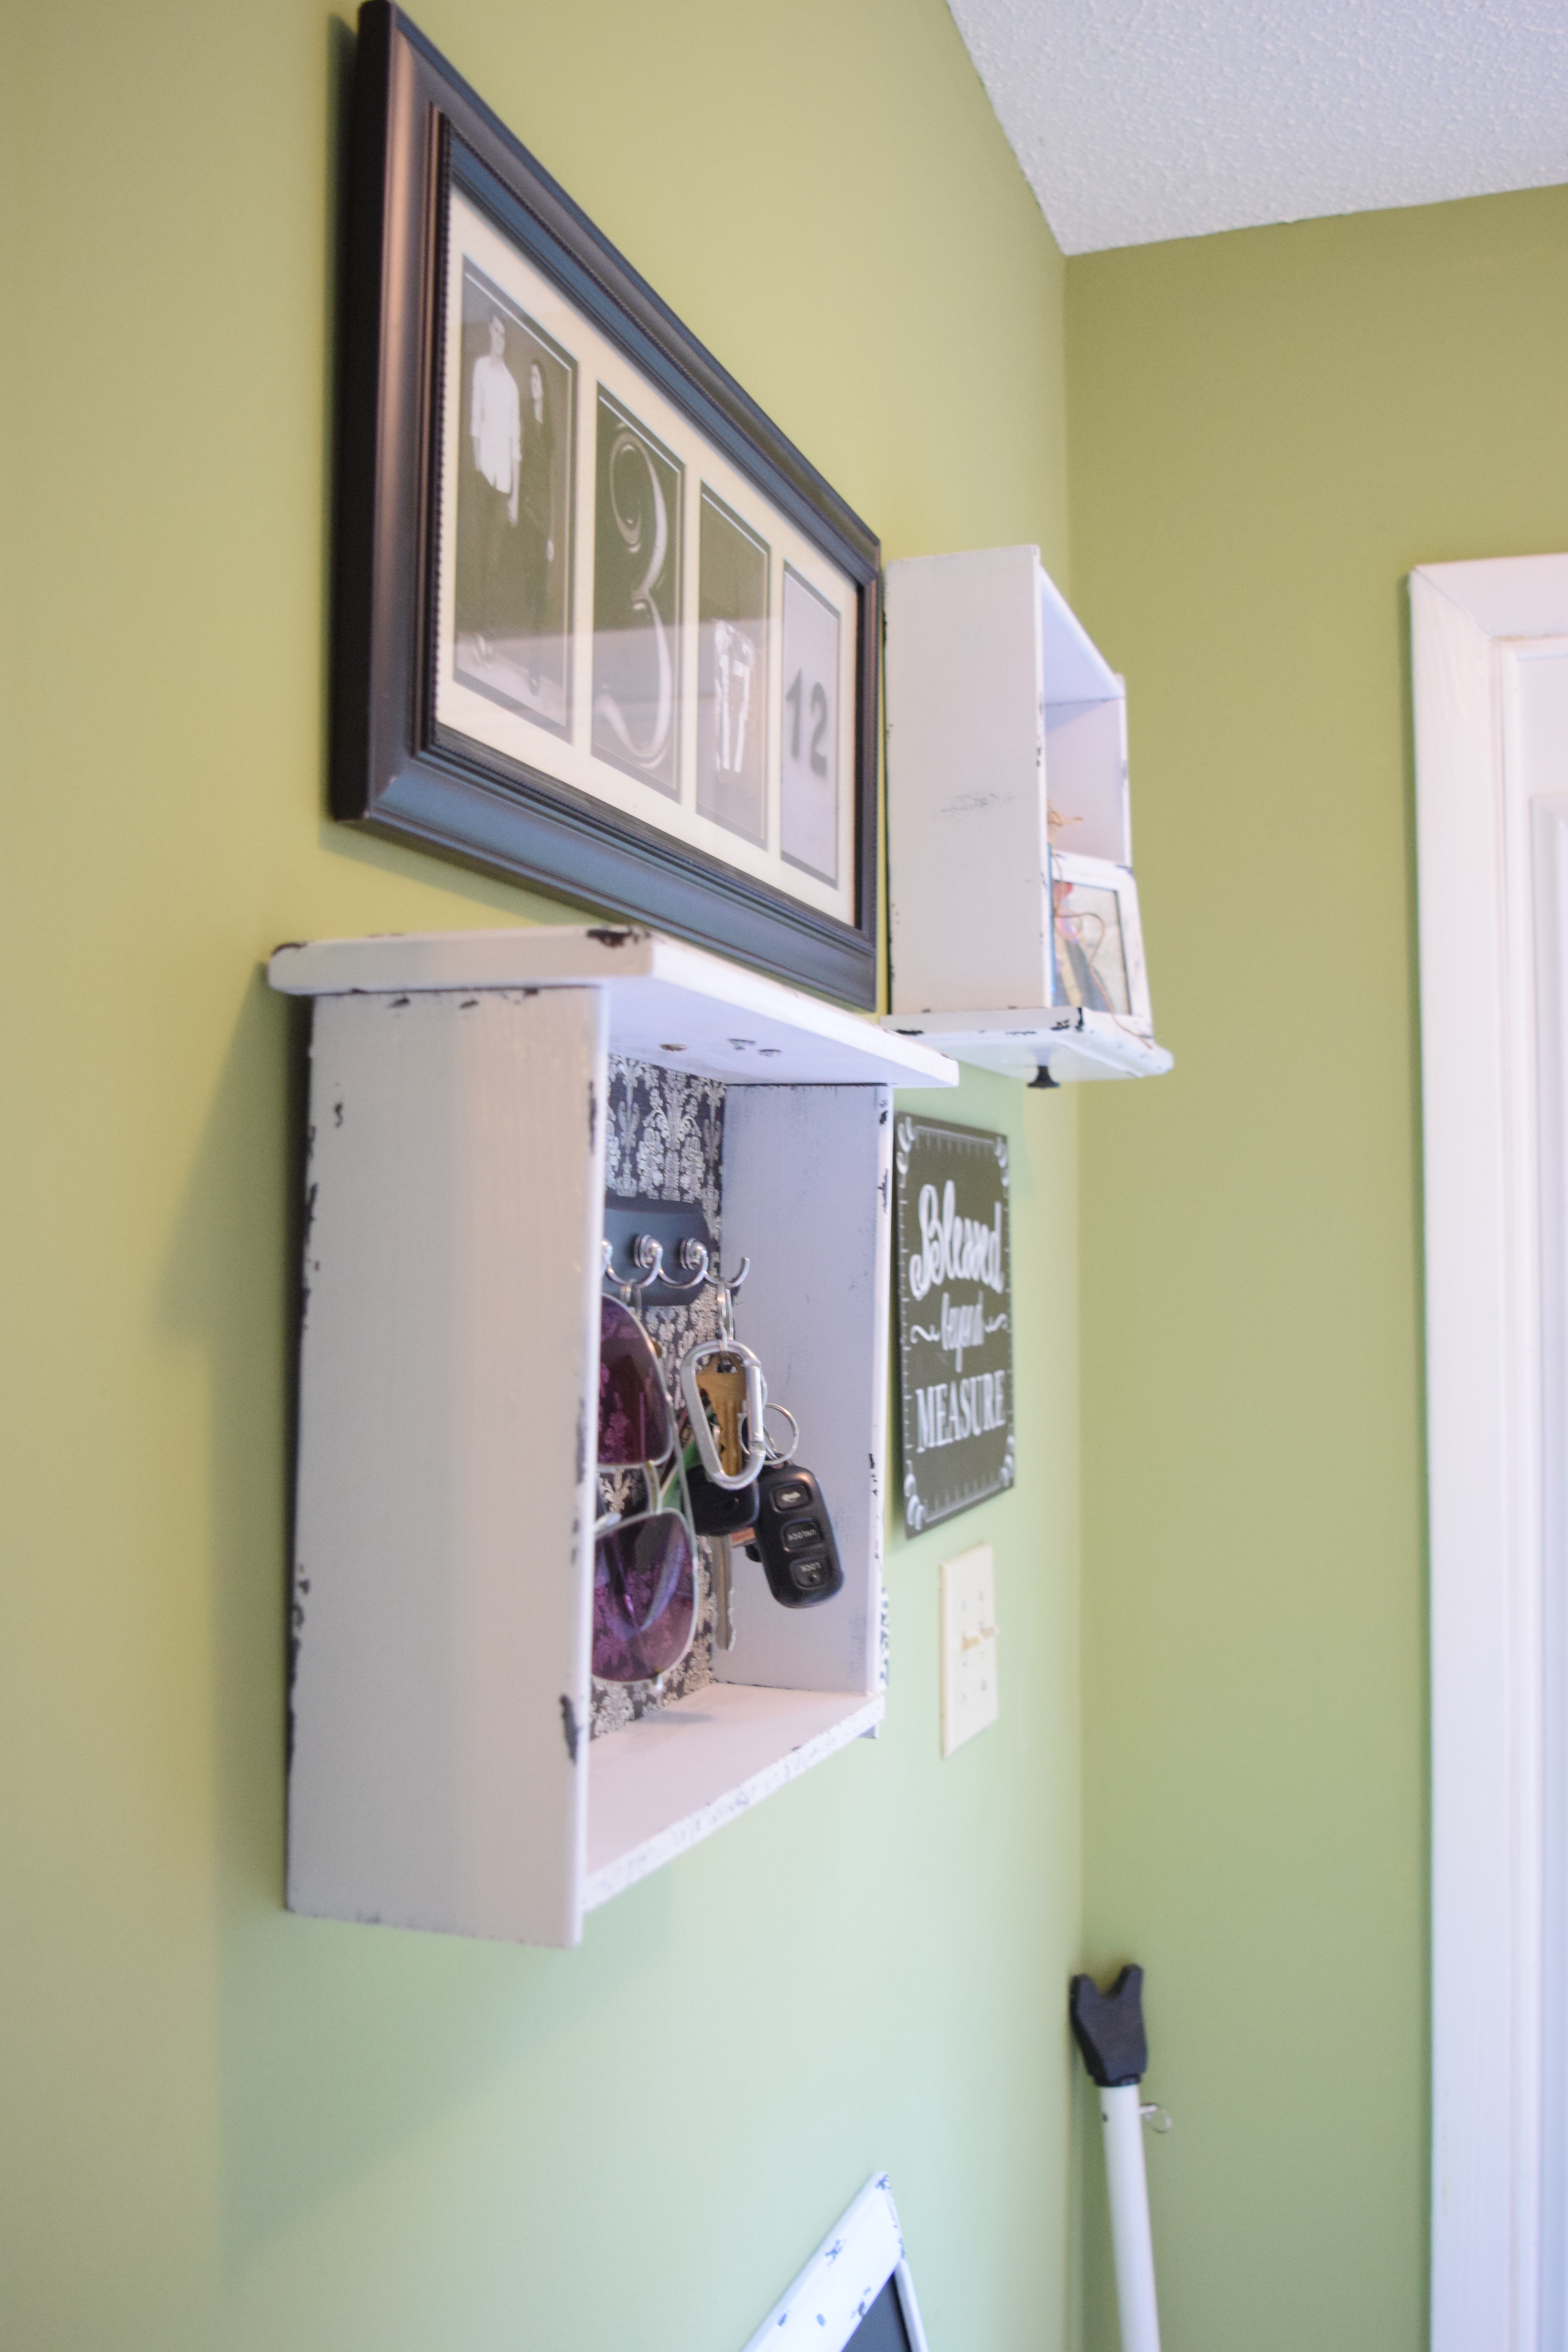
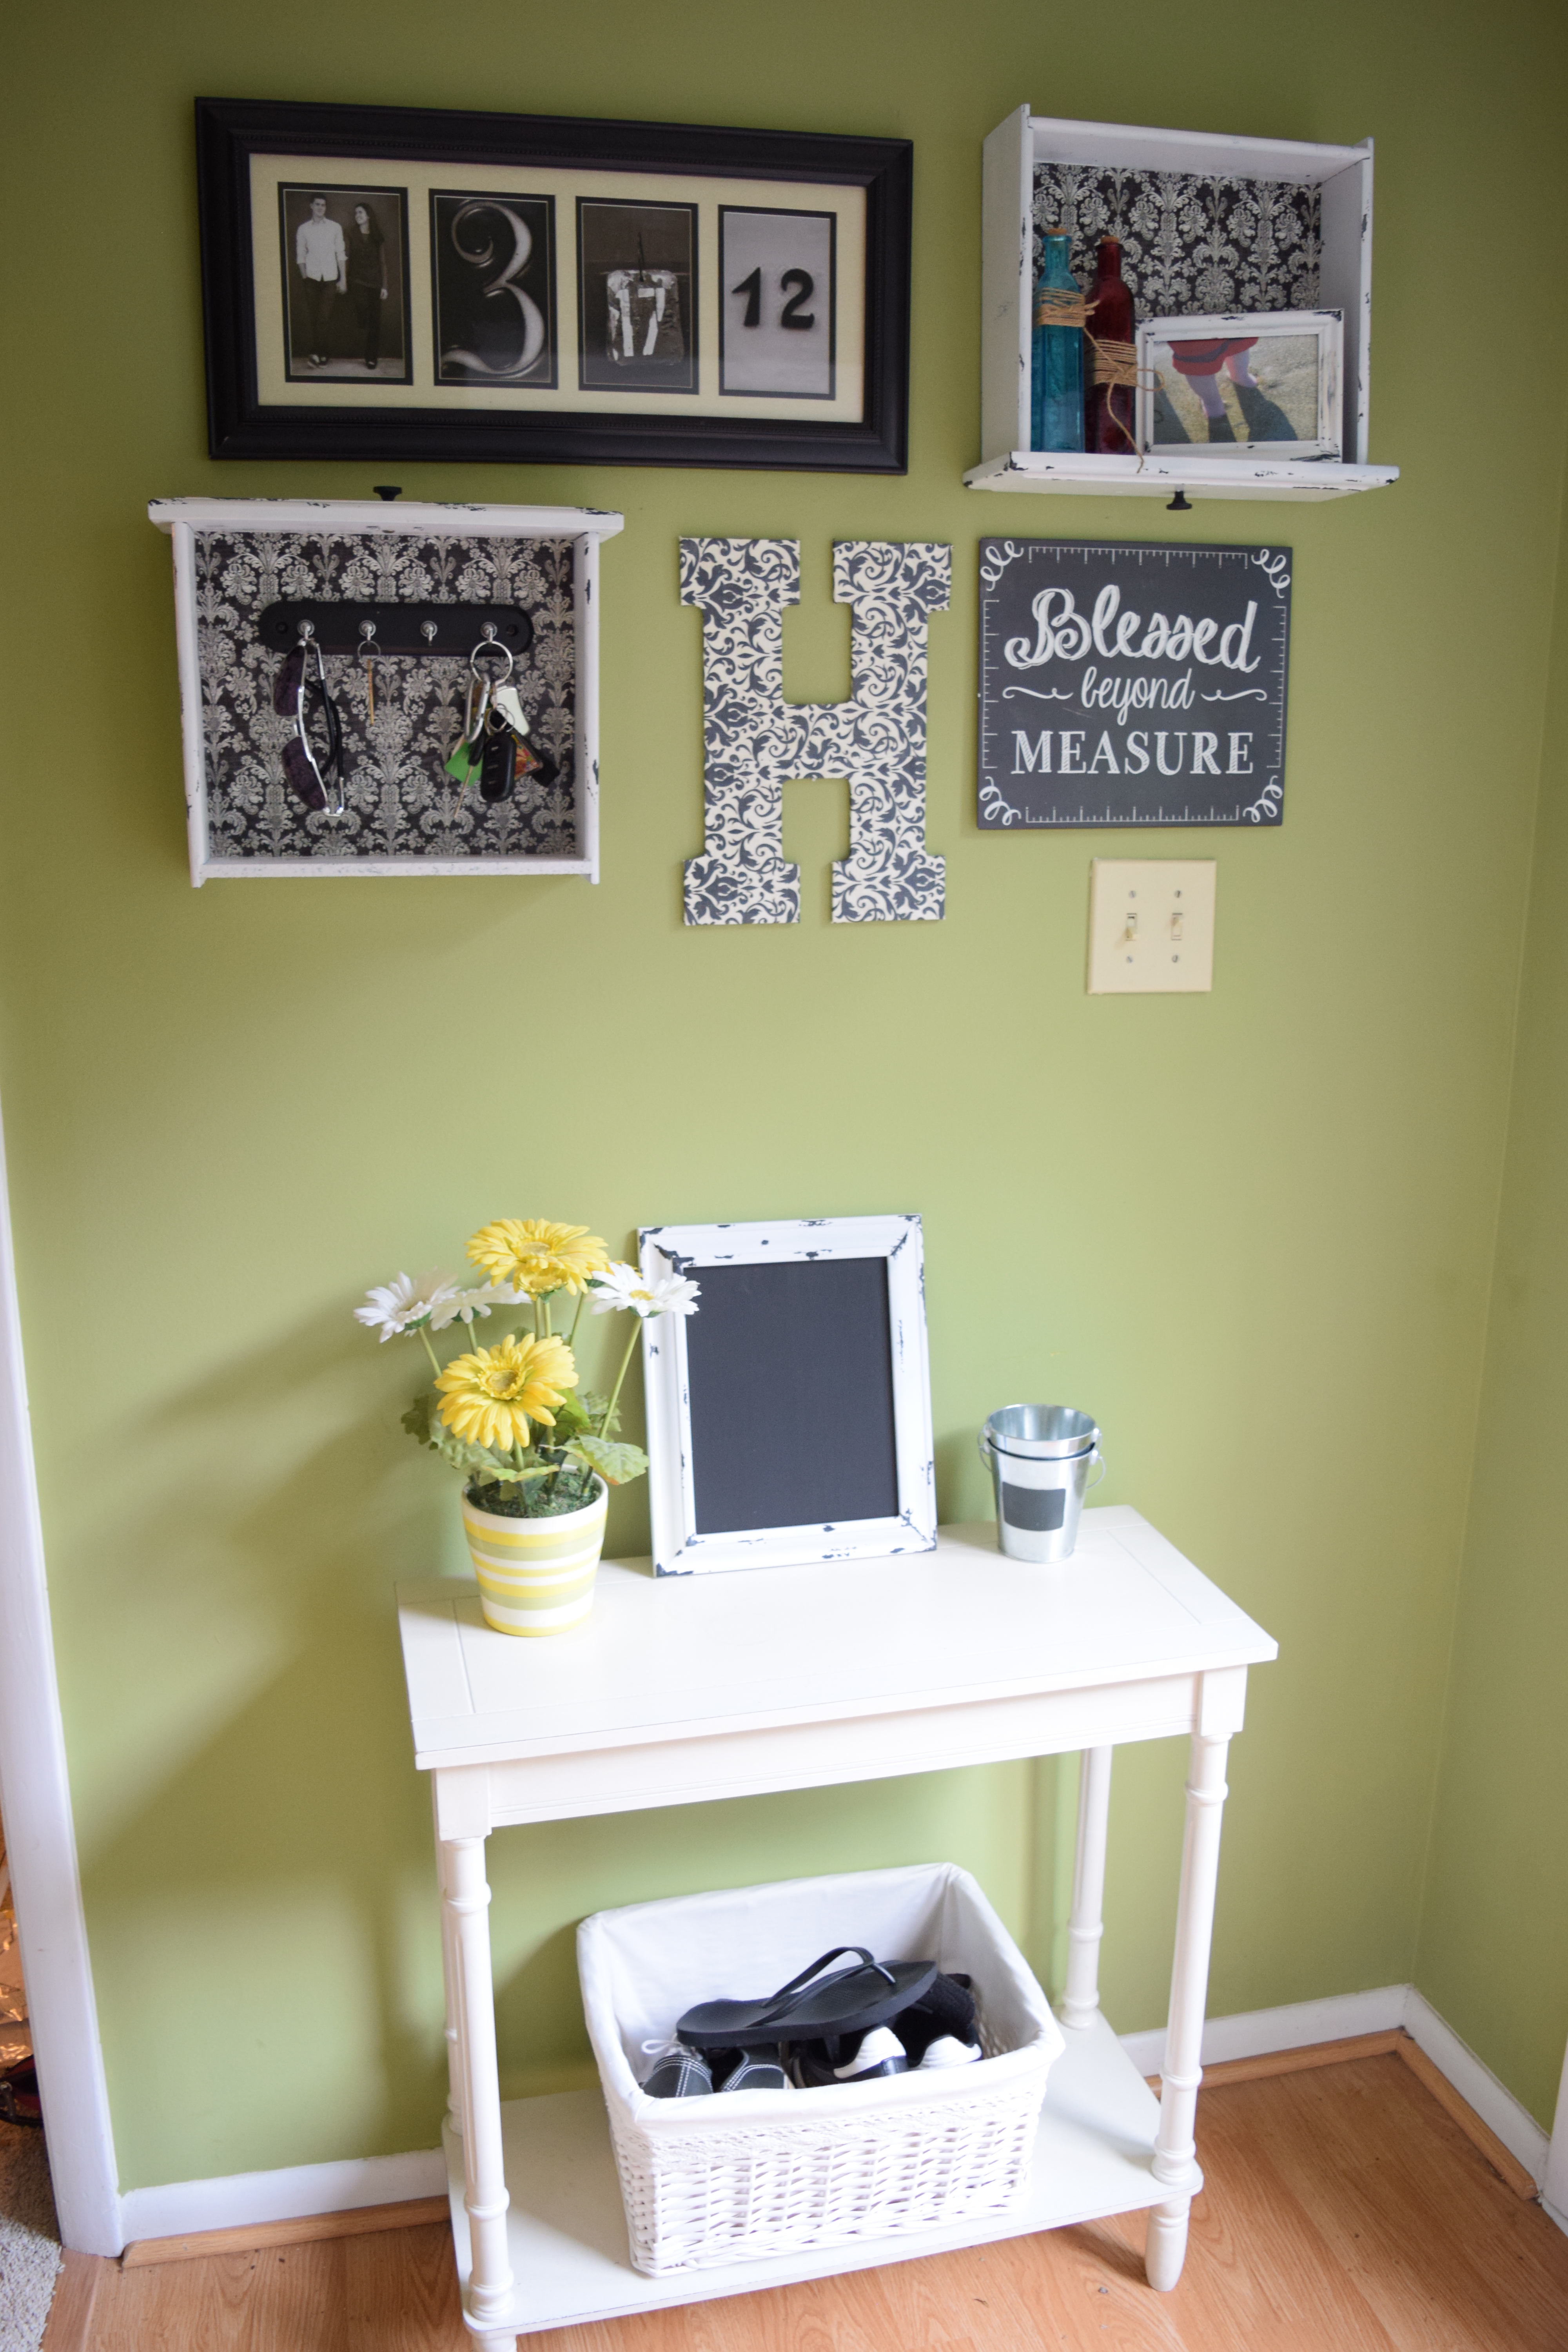
After this I attached two brackets to each drawer so that I could easily hang them up. I decided to use the shelves in the entryway of our house. I had a panel of hooks that we used for hanging keys in our old apartment, so I attached it to the back of one of the shelves so we could keep our keys, sunglasses, and whatever else.
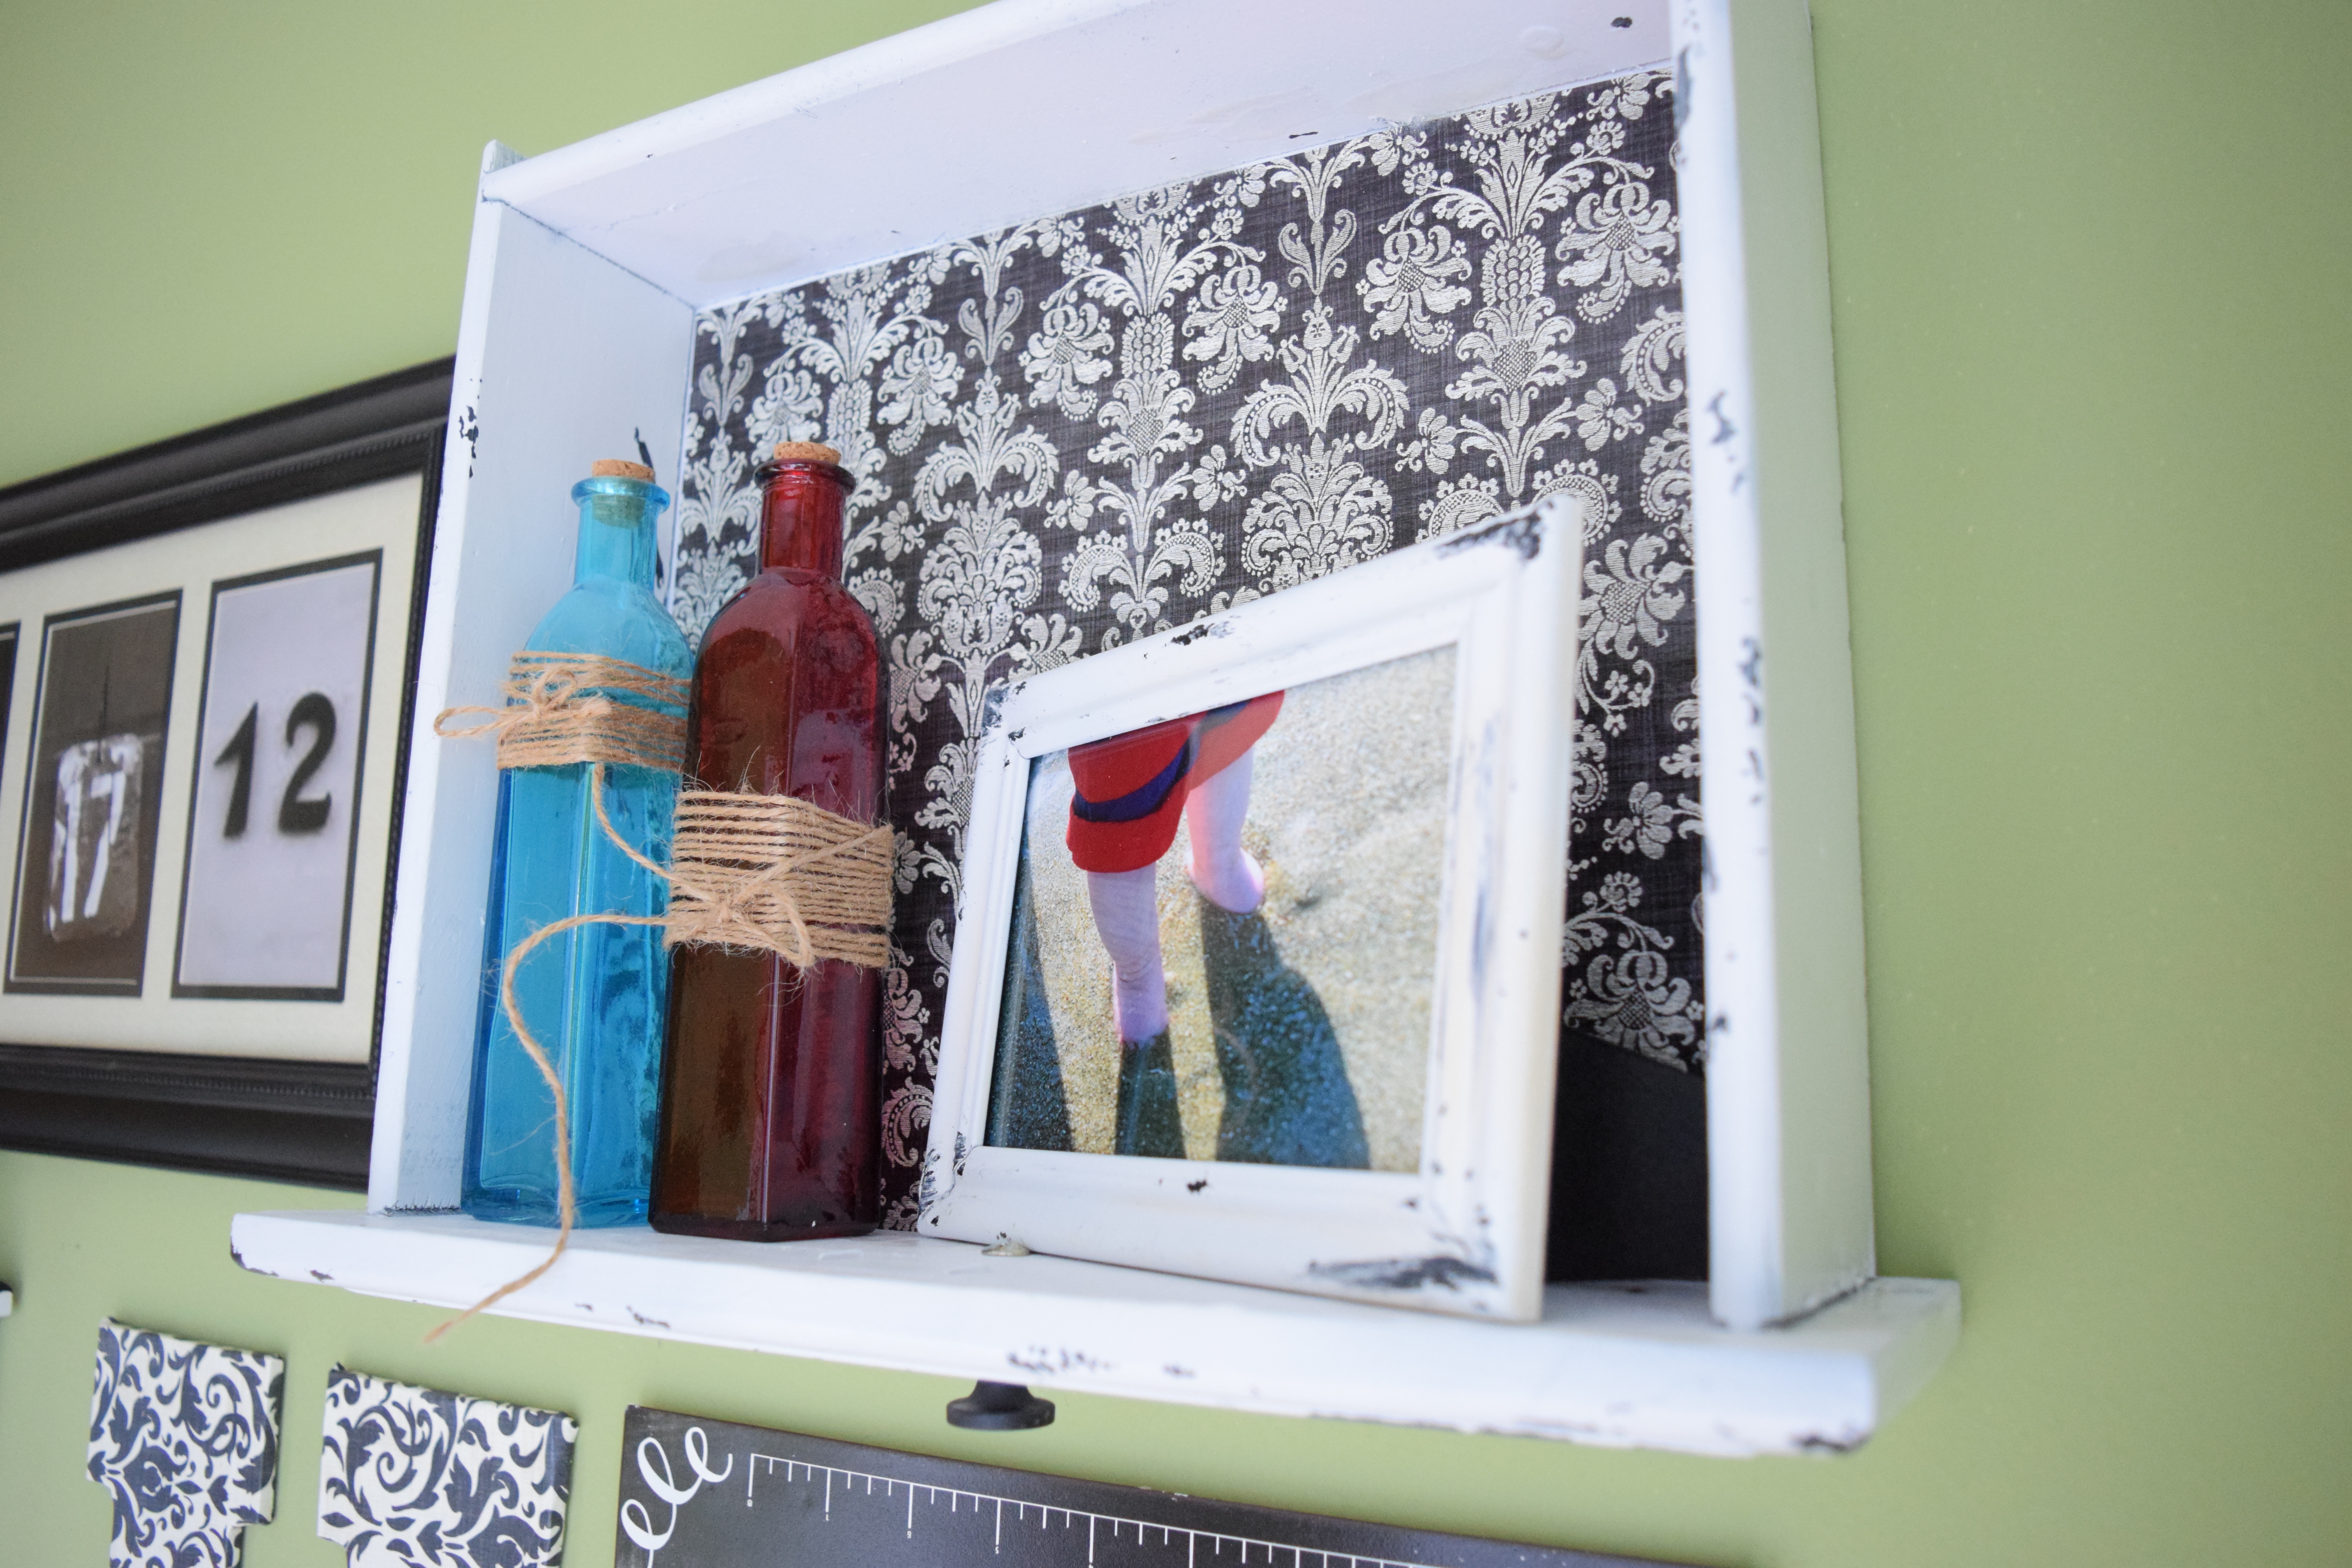
I also distressed this little frame I got from the Dollar Store — I think it turned out pretty well, especially with my son’s cute little toes displayed in it.
I was really happy with the finished product! I rearranged some things on our entryway table as well and added a new distressed chalkboard to unify the look.
Not too shabby! I think it’s safe to say I’ve caught the distressing bug. It’s a simple (and affordable) way to add some character to regular household items — and an option for unique gifts as well!
Happy distressing!
Mary

One thought on “DIY: From Old Drawers to Distressed Shelves”